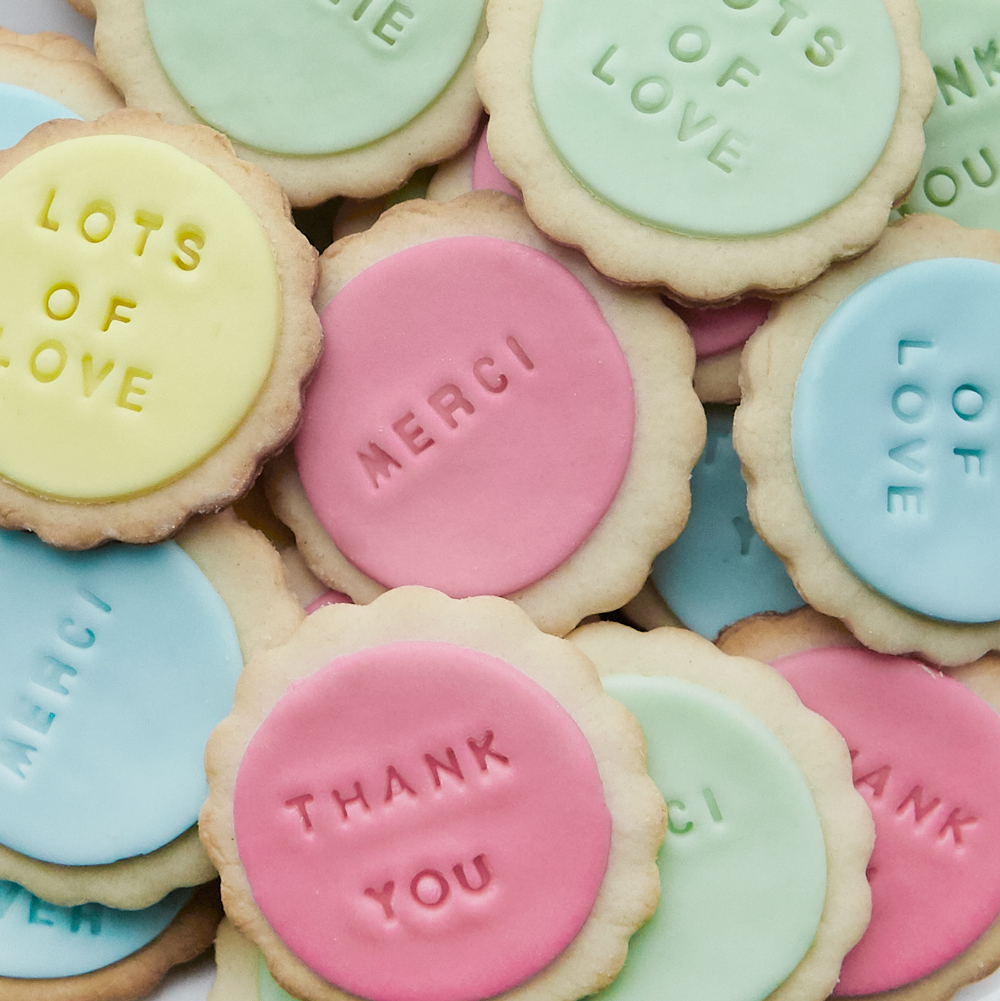
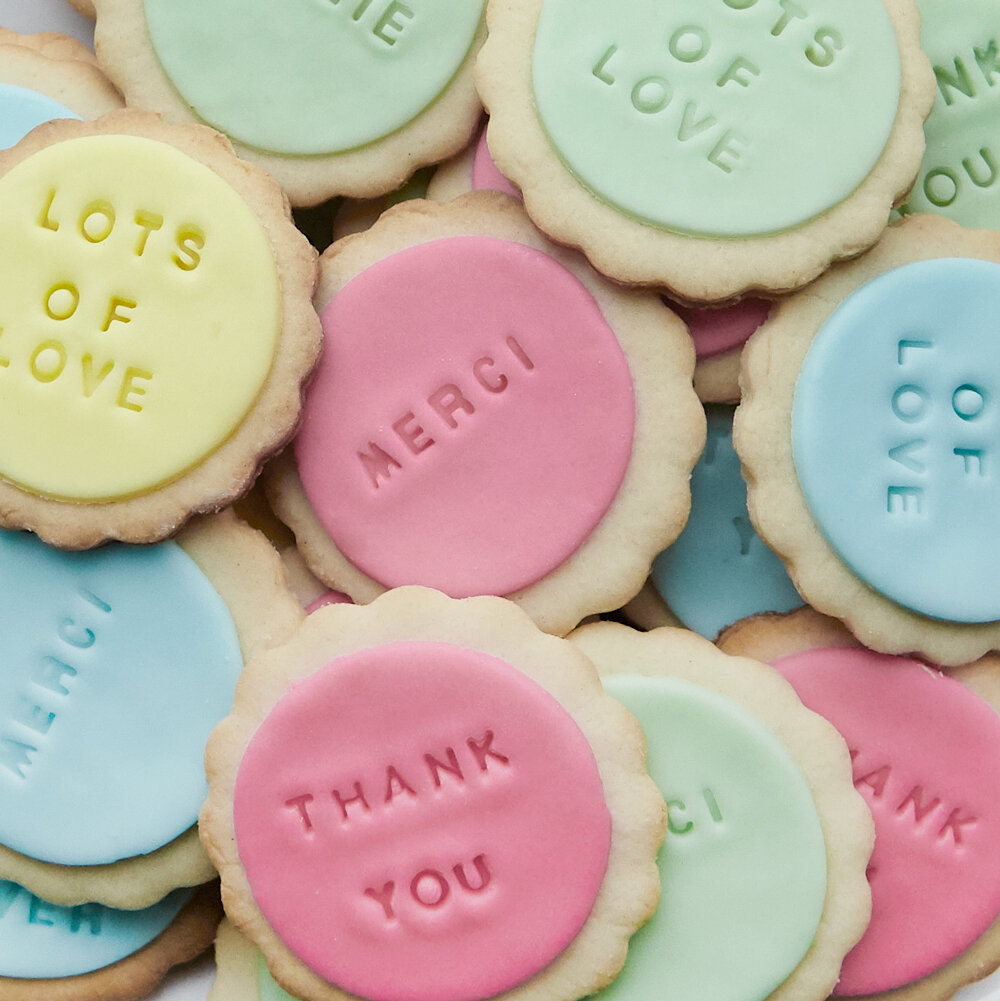
Sometimes the best Mother’s Day gift is quality time, and this DIY custom cookie craft is a delicious activity to try this Spring. At For Your Party, we’re always on the hunt for trends, wedding and food alike. While some trends come and go—cronut, anyone? the humble cookie is always there in the background. With more varieties and flavors than anyone could make in a lifetime, cookies are a timeless classic. We love them for appetizers, desserts, lazy evenings in front of the tv, and much more. Adding a personalized touch to your custom cookies will make them shine as a thoughtful Mother’s Day gift.
With some fondant, water, and a rolling pin, these DIY cookies come together in a snap and punch well above their weight.
Take a Bite!
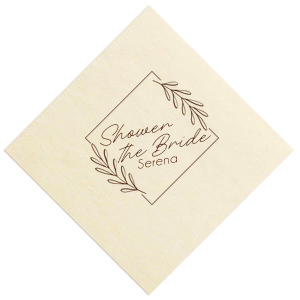
Now that spring is here (with the exception of our home of Chicago), we think these custom cookies would shine at high teas, bridal showers and, of course, weddings. With Mother’s Day right around the corner, it is a no-brainer that they will be a tasty addition to Mother's Day festivities. If you are throwing a Mother’s Day brunch, adding personalized luncheon napkins, frost flex cups, and appetizer plates will help your party stand out. Read on to get started!
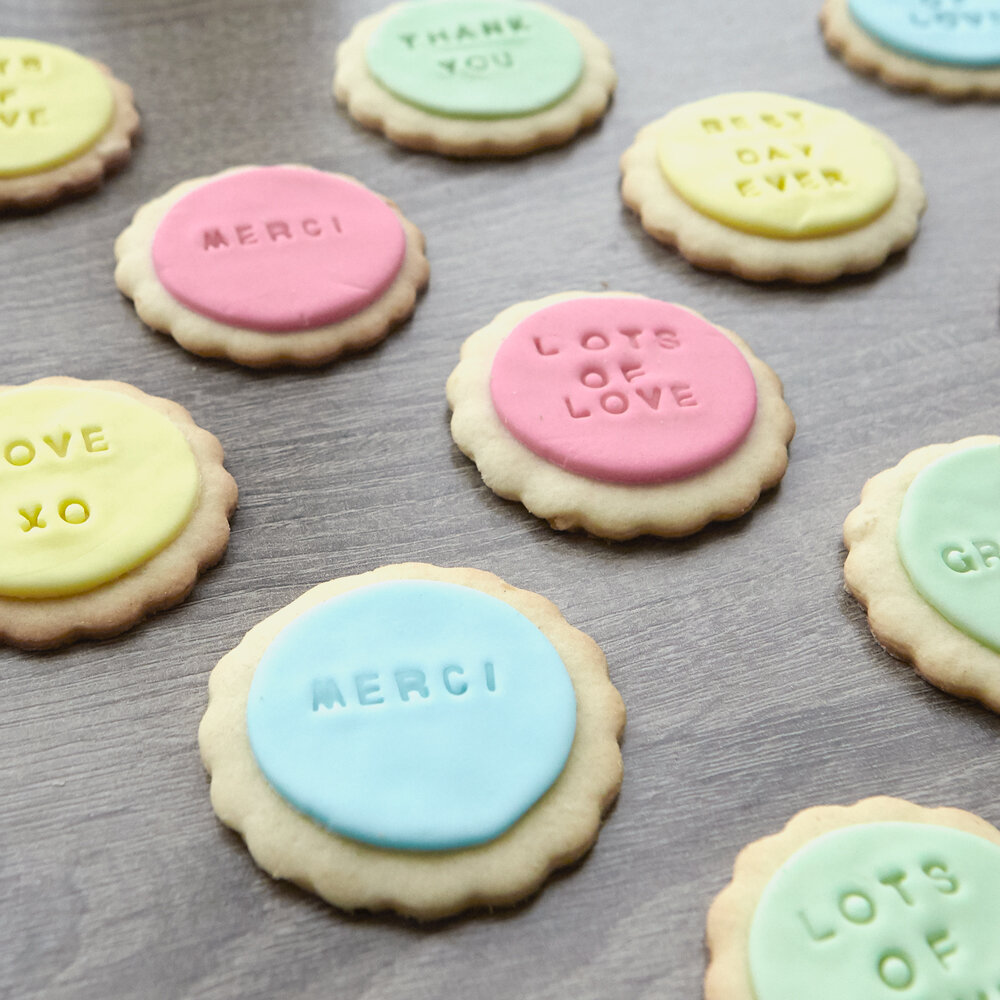
Easy Custom Cookie Stamping
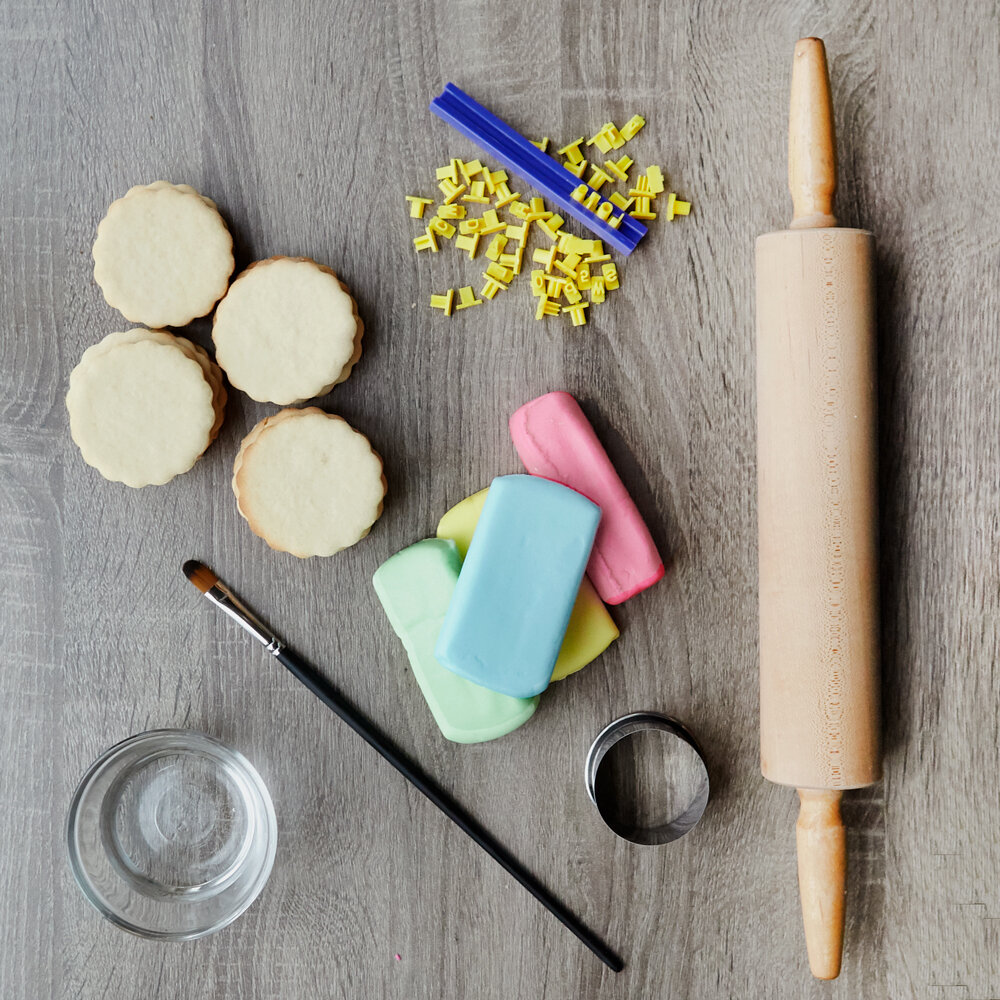
Follow these easy steps, and you will be stamping out cookies in no time! You will need:
-
Sugar cookies- make your own or store-bought
-
Cookie cutter
-
Fondant
-
Water, and a brush to apply it with
-
Stamps, from a stamp kit
-
Plastic wrap
-
Rolling pin
Step 1
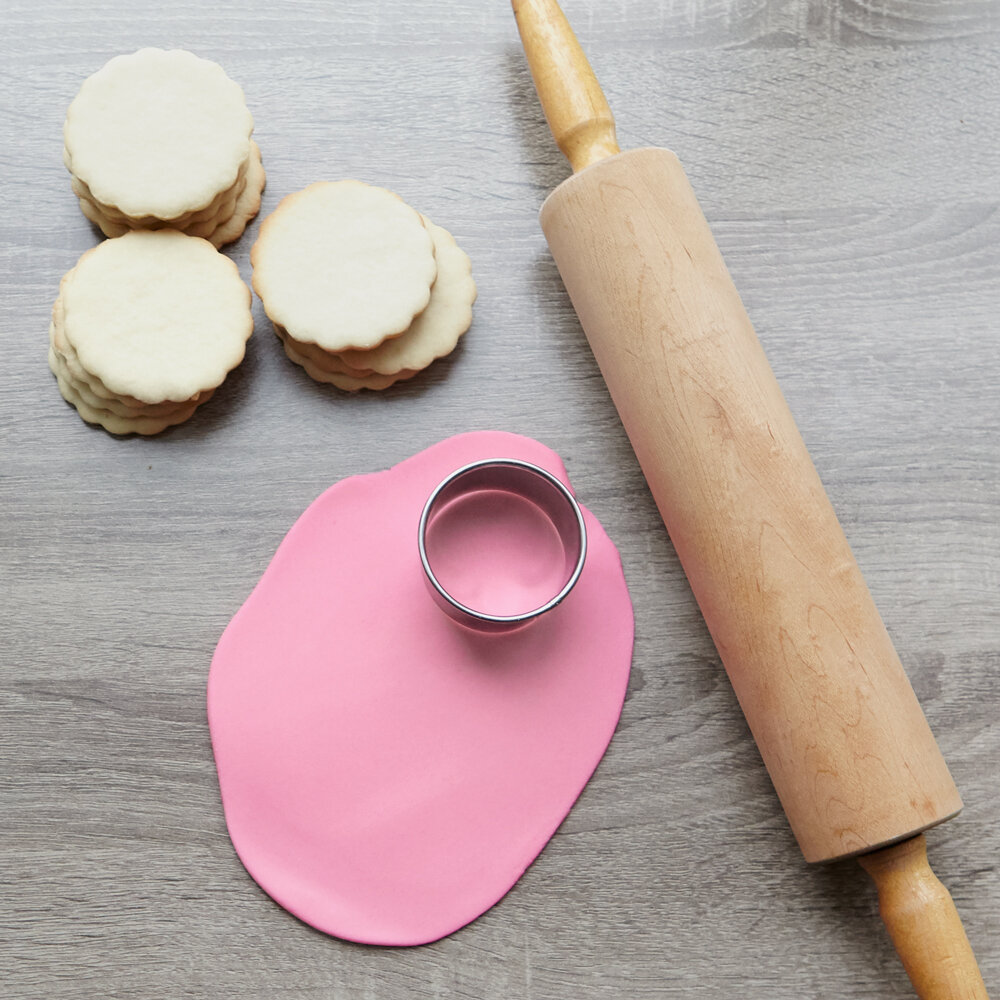
Keep the fondant covered in plastic wrap whenever possible, because it dries quickly. Tear off a small amount of the fondant, and then roll it out on a clean surface dusted with cornstarch until it is about 1/16” thick. FYP Pro Tip: Our custom cutting boards make a great work surface, and Mother’s Day gift!
Step 2
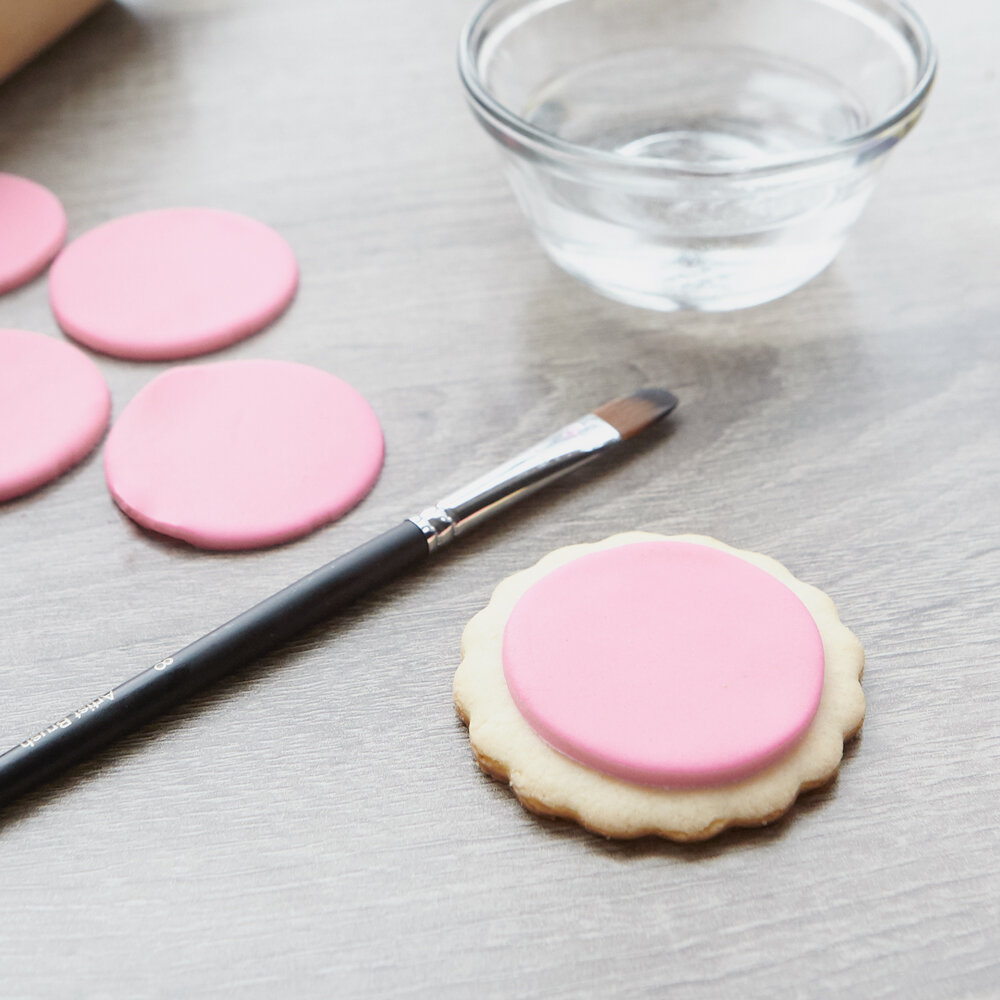
Cut the fondant to match the shape of the cookie. If you made the cookies yourself, you can use the same cookie cutter size, since the cookies will have expanded in the oven. Brush the fondant piece with water and gently press it onto the custom cookie. Repeat with all of the other cookies, keeping the cookies with fondant under plastic wrap
Step 3
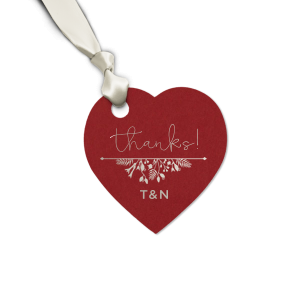
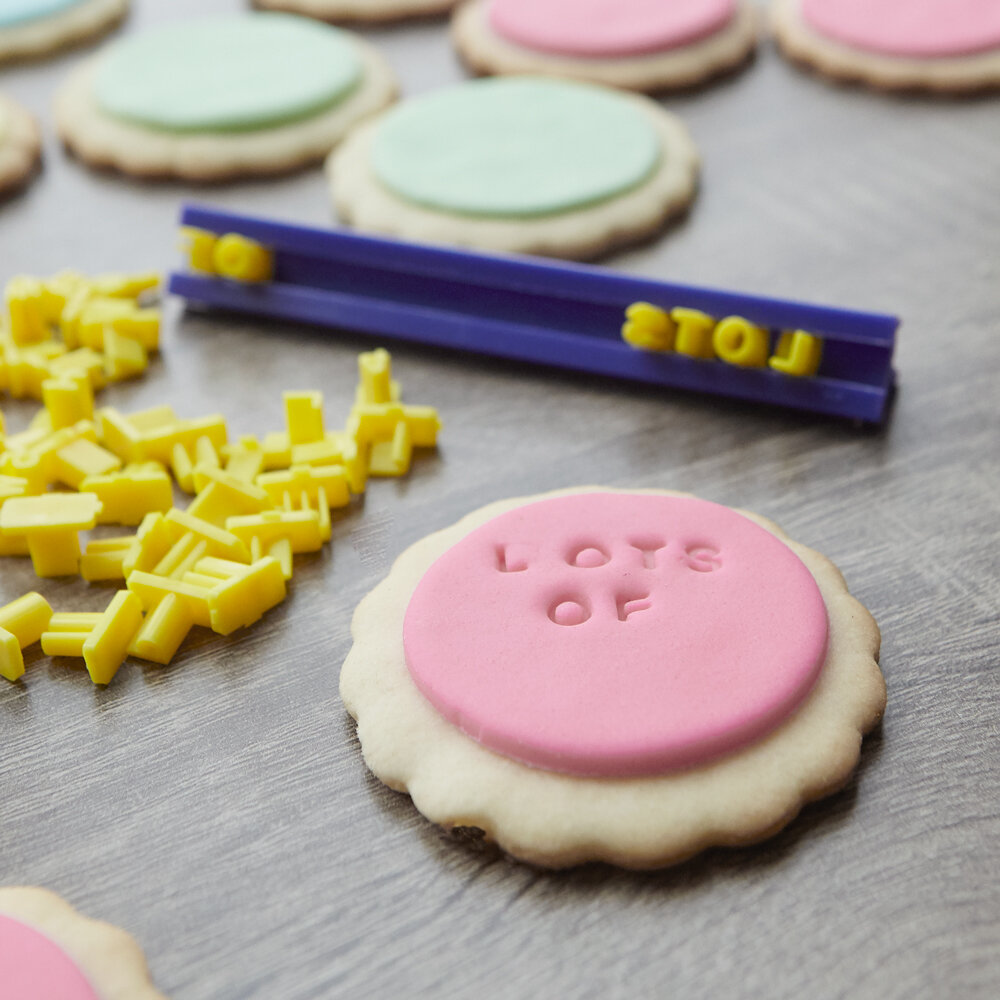
Using your stamping kit, stamp your chosen phrase or names into the custom cookies, taking care to keep the spacing even. You don’t want uneven cookies! Because the fondant can dry out, it’s best to keep these cookies under plastic wrap or in an airtight container until the big event. We think they go great with our cellophane bags and gift tags. Of course, our cookie bags are an irresistible pairing, in either foil or our new photo printing!
Expand Your Cookie Horizons
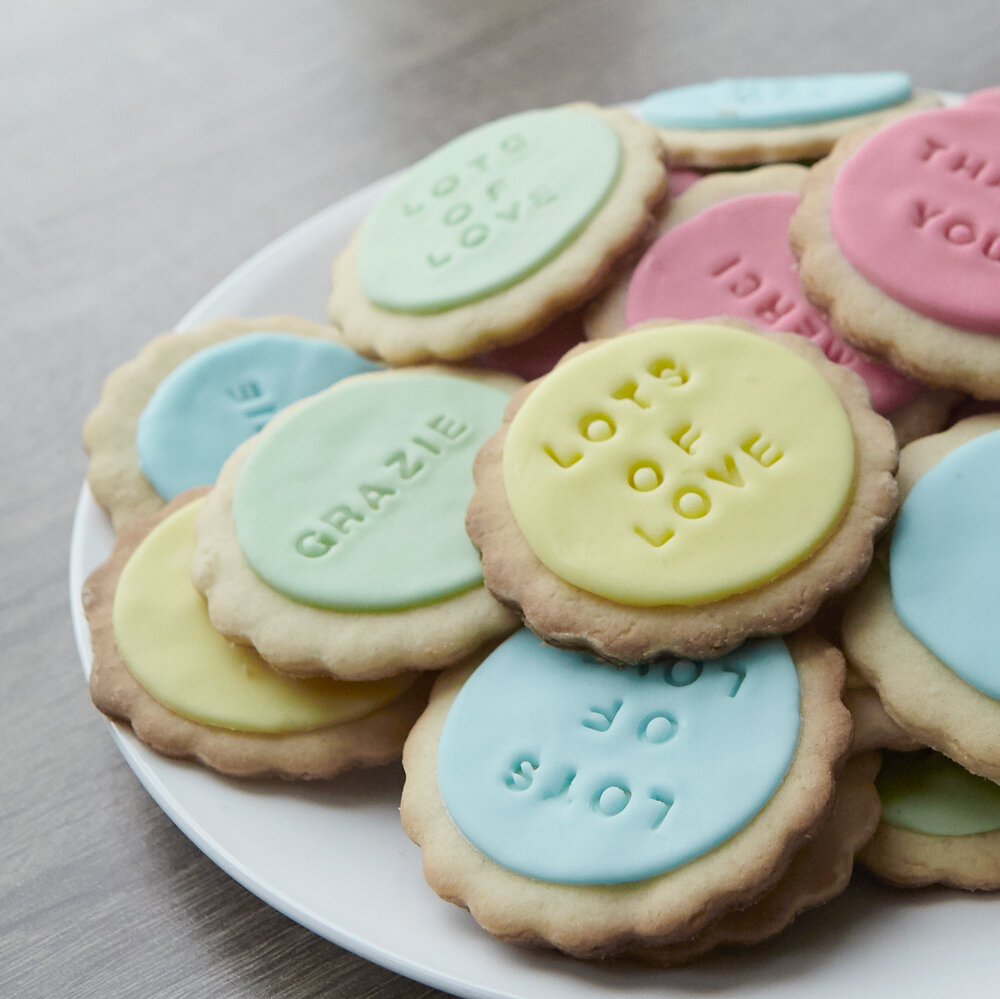
While the color combination of sugar cookies with pastel fondant is a classic, don’t be afraid to experiment! Food coloring added to your cookie dough can really pop, and partially mixing food coloring into white fondant can create a stunning marble pattern. Bright colors and vivid patterns will shine at kid birthdays, and more refined colors make classic wedding favors, especially paired with tea favors. No matter the event, be yourself and get creative! If you’re making some DIY custom cookies, remember to tag us on socials @foryourparty.
Shop This Post
