Spring has sprung here at For Your Party—we’re starting to have lunches outside, the pastels are coming back out, and we’re of course thinking about our next parties. When are we not, really? We’ve been loving DIY pressed flower crafts, because real pressed florals are timeless, beautiful, and add a wonderful handmade touch to anything from to thank-you stationery to cake decor.
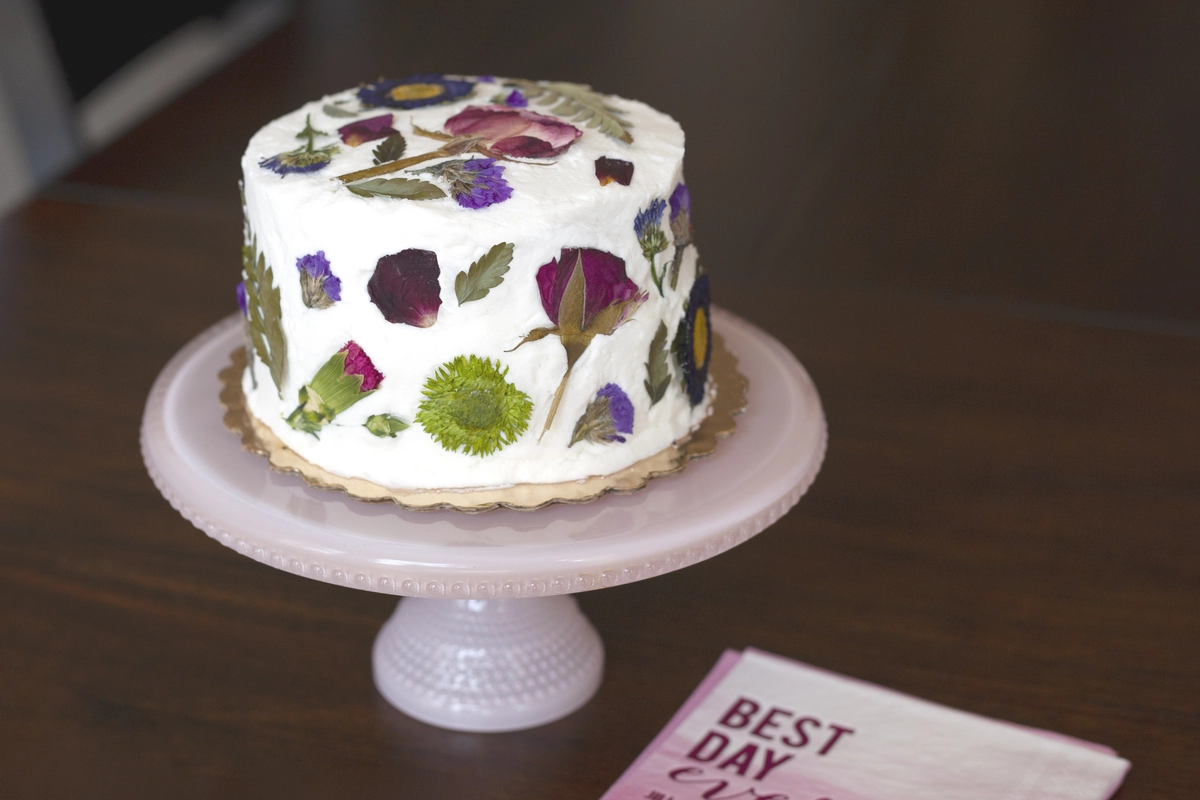
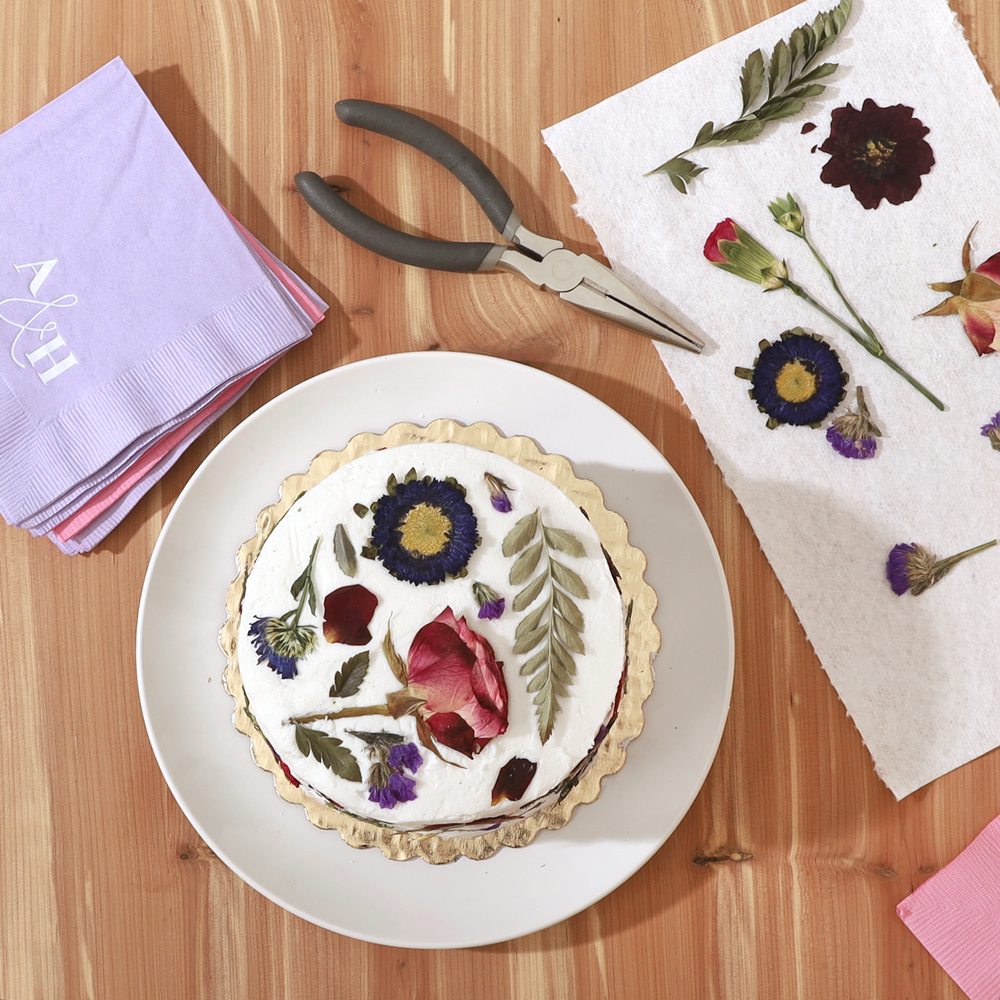
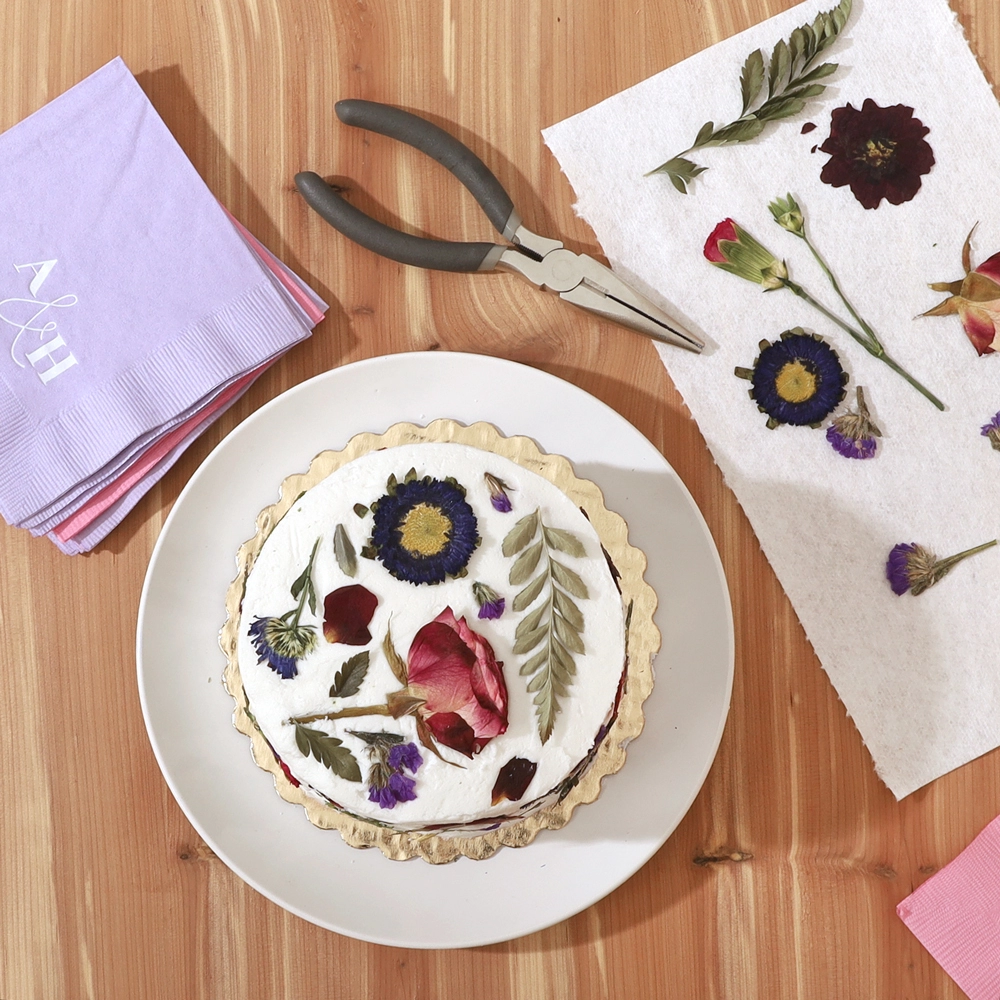
This week we got creative by adding edible pressed flowers to a homemade cake. This style of desert would look picture perfect at a baby shower, engagement party, or wedding. And the best part about this made-in-a-microwave DIY pressed flower hack? It’s super easy, and comes together quickly using household items you probably have on hand. At For Your Party, we’re big fans of personalization, and adding pressed flowers to a cake or gift will provide a signature touch that you and your guests will love.
Get Floral!
The warmer weather and longer days make us think of garden parties, high teas, and baby showers—all events that work wonderfully with a floral theme, and a floral adorned cake! You make the DIY pressed flowers, we’ll handle the rest. Deal? Cocktail napkins, cups, and straw tags from For Your Party will make your beverages shine, and your pressed flower cake will look great on our appetizer plates. With our floral party accessories, your gathering will be taken to the next level. After you’re done pressing flowers, check out our customizer to see our selection of floral graphics!

Simple Pressed Flowers
It’s not enough that they’re pretty- these DIY pressed flowers are super simple to make as well! Follow these three easy steps to get cake decorating.
You will need:
- Flowers! Make sure you’re allowed to pick them first. When opting for edible options, we found that citrus blossoms, daisies, dandelions, hibiscus, honeysuckle, lavender, lilac, roses, sunflowers, and violets work well
- Shears or scissors
- A microwave
- Paper towels
- A flat, heavy object, like a microwave safe casserole dish. It should be large enough to cover your flowers.
Step One
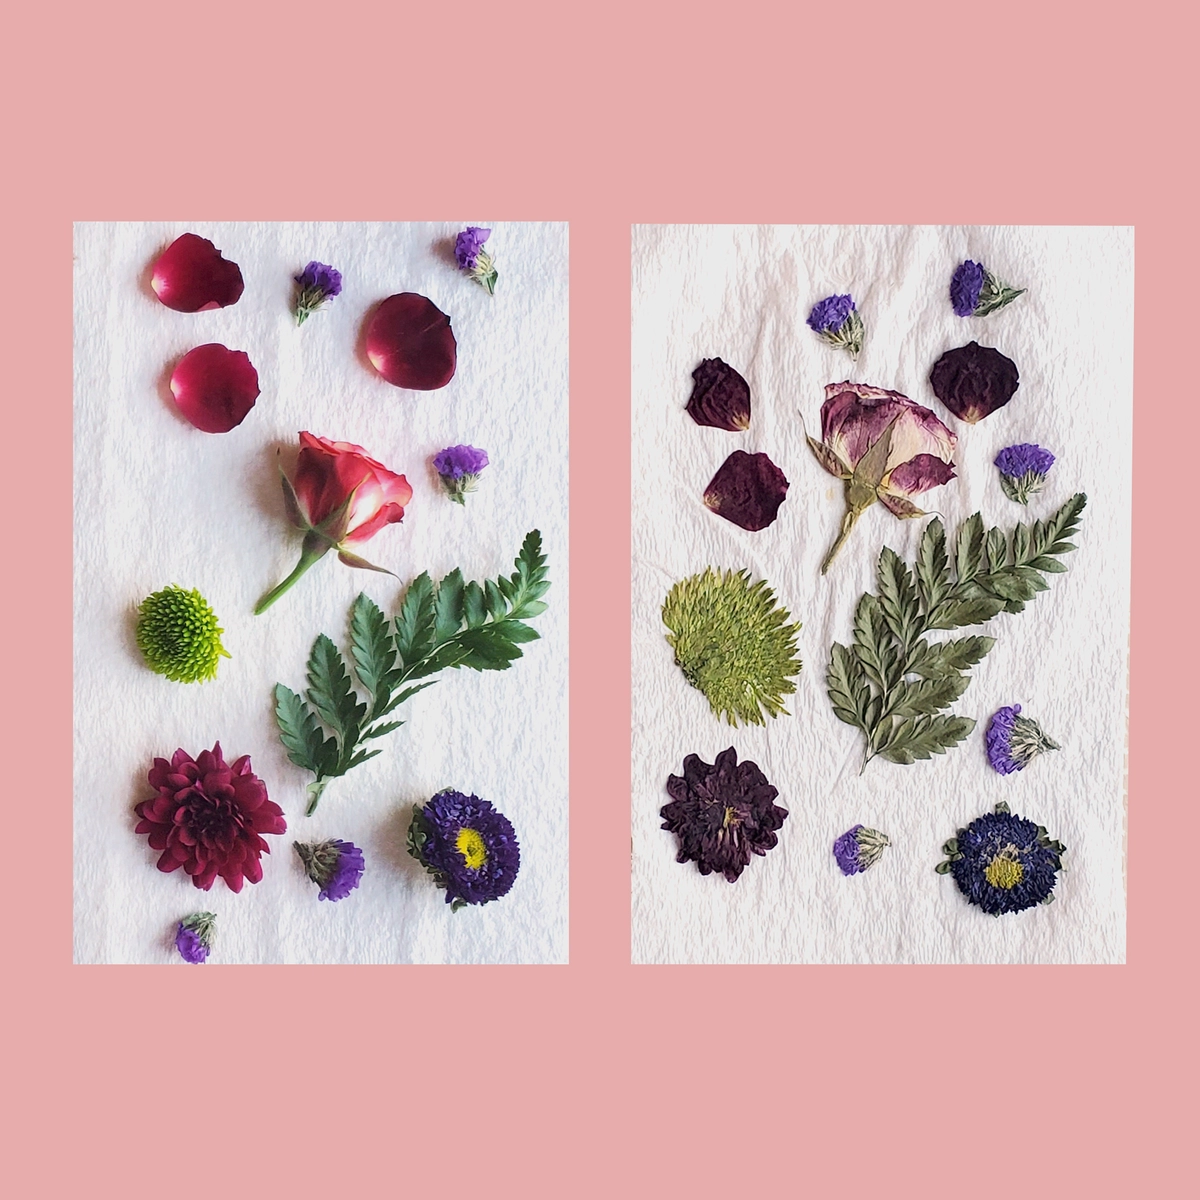
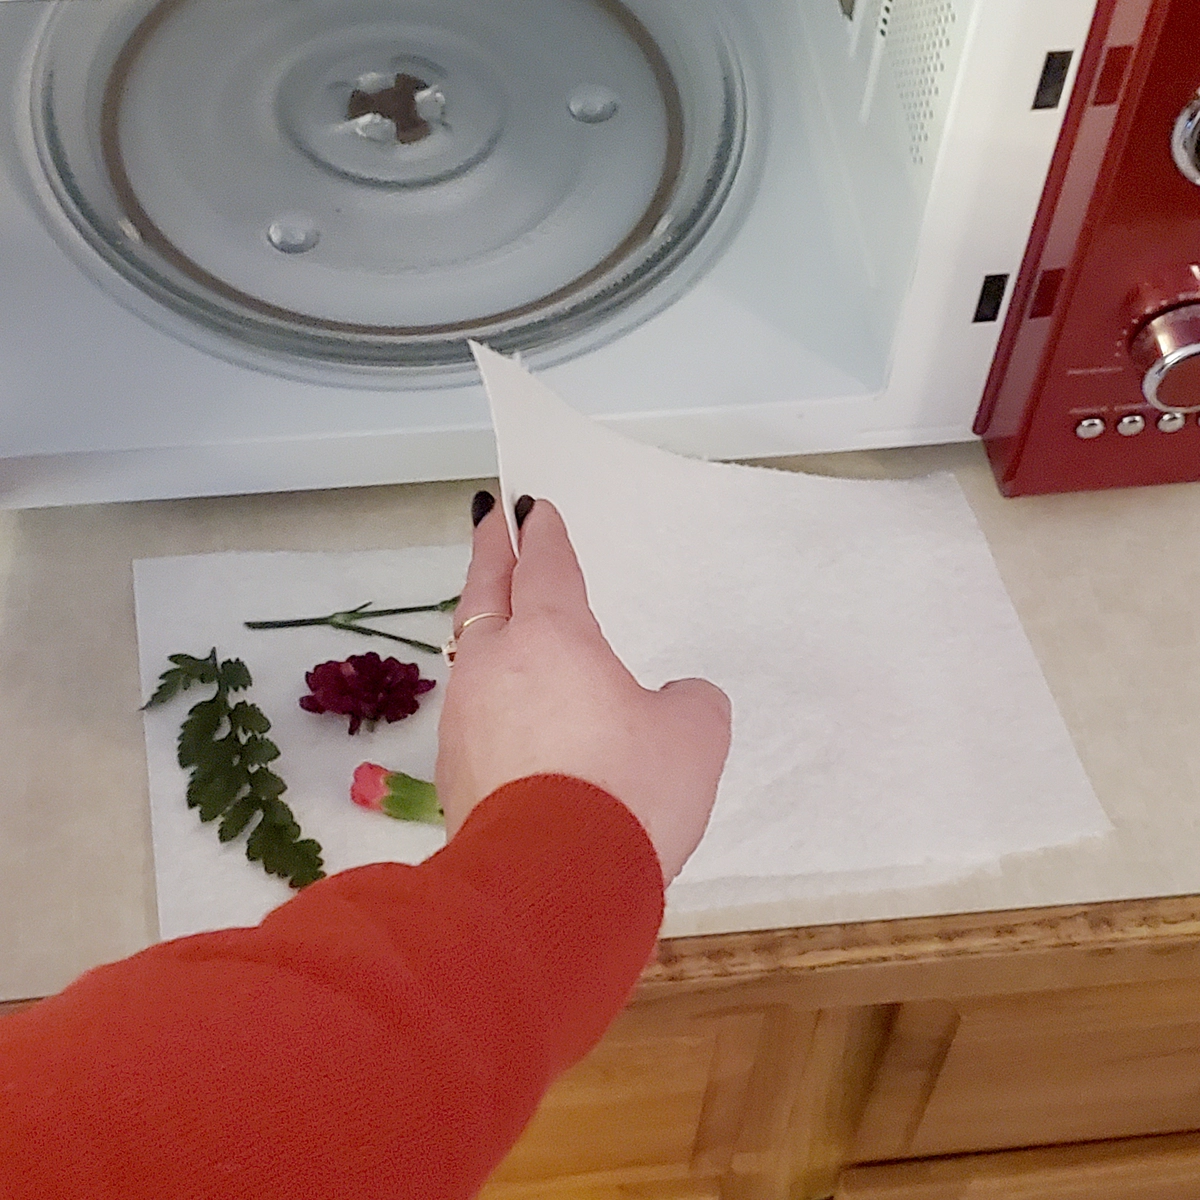
Pick your flowers or leaves, and then cut off the stems as close to the bloom as possible. Spread the petals out a little bit if they are bunched up.
Note: When picking flowers, keep in mind that not all types of flowers or leaves will work well in the microwave. If in doubt, test a little bit in the microwave first!
Step Two
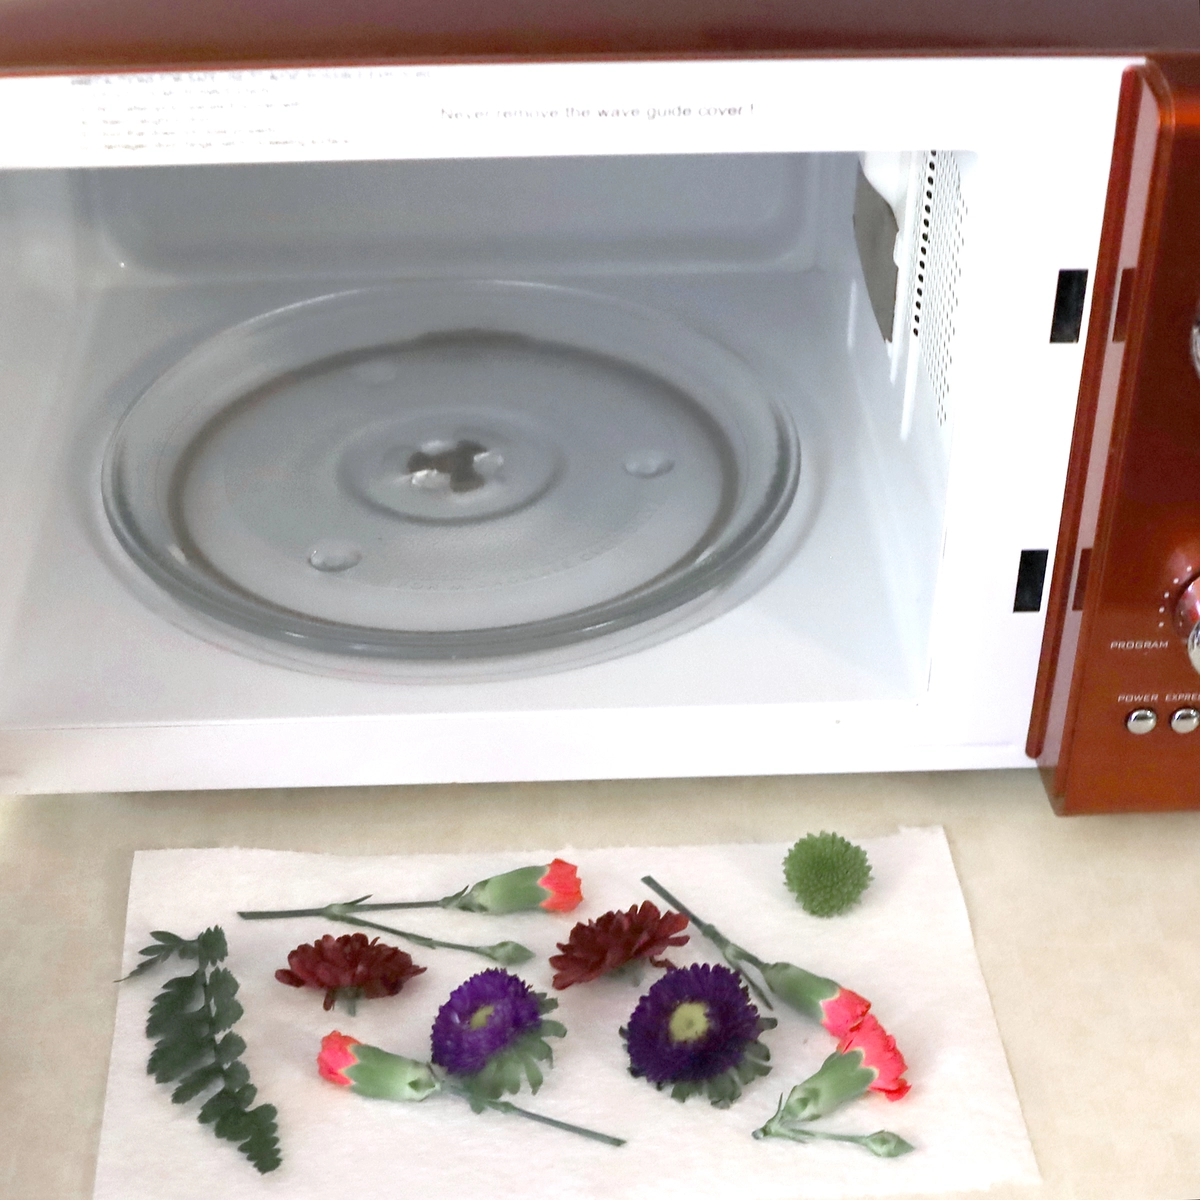
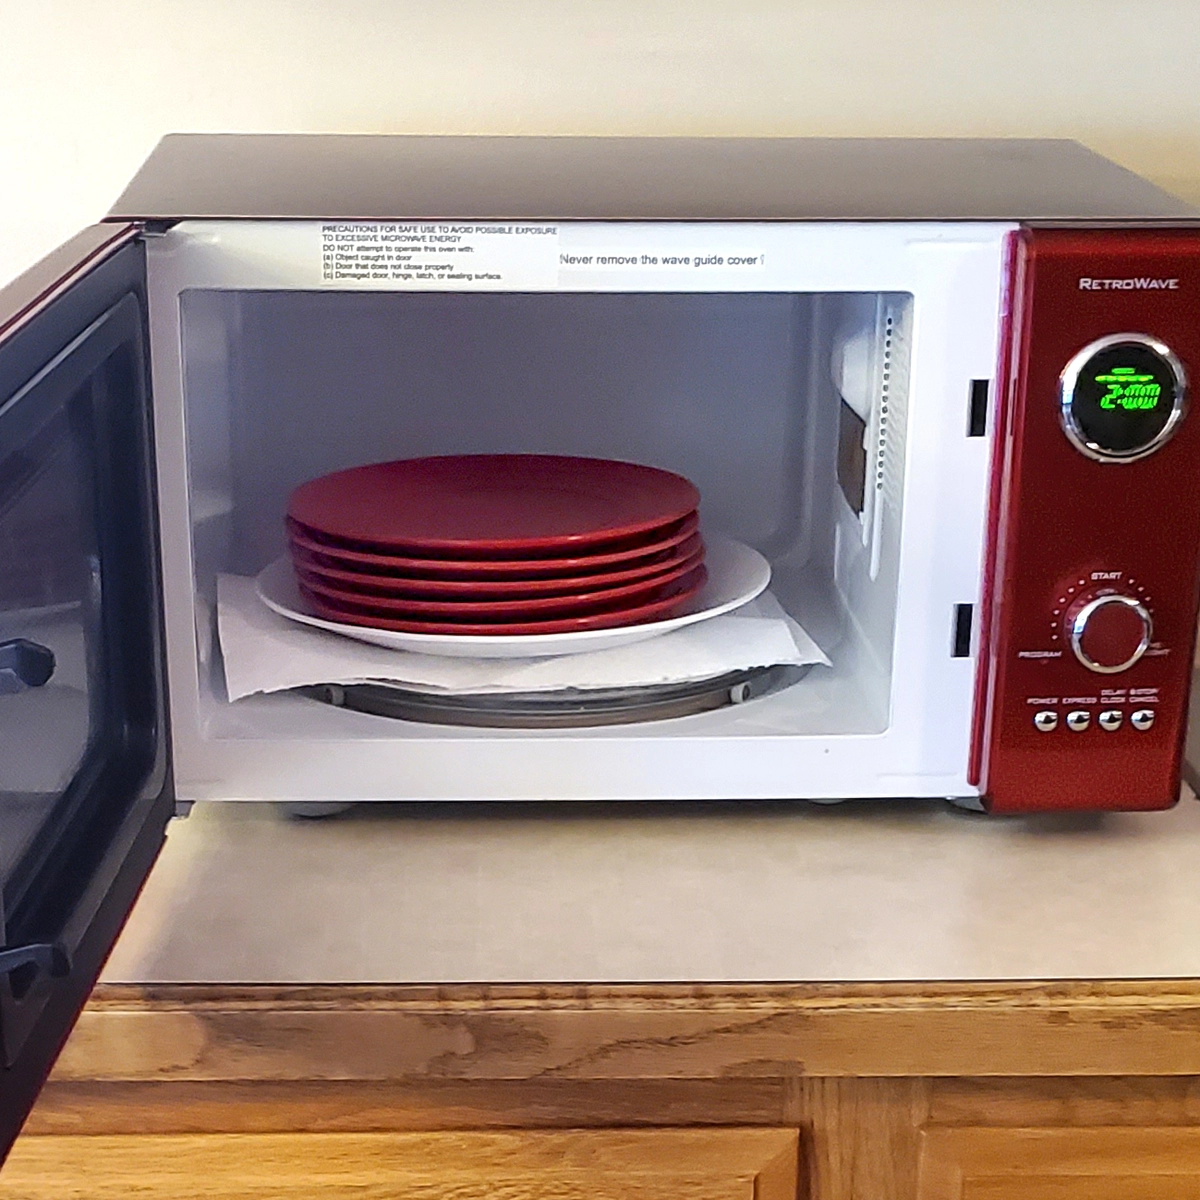
Sandwich your flowers bloom side up between two paper towels, and place in the microwave. Place your weight on top of the flowers, but don’t press down on them.
Note: We recommend microwaving the flowers on a low setting, and checking your DIY pressed flowers after one minute.
Step Three
Continue to microwave the flowers in 30-second increments until the flowers feel completely dry and flat. Most flowers and botanicals will take between 1 and 4 minutes to be completely ready.
And just like that, your DIY pressed flowers are ready to use on a cake or any craft you can imagine.
Get Crafty!
These DIY pressed flowers will add a beautiful touch to things like stationery or cakes, but they will also be the star of the show on floral centerpieces or framed in shadow boxes! Either way, they are complimented by For Your Party’s fresh and floral designs. A floral event will go great with our napkins, plates and much more. If you’re making some DIY pressed flowers, remember to tag us on socials @foryourparty.
Shop This Post
